| View previous topic :: View next topic |
| Author |
Message |
kevd
Junior Contributor 10+
Joined: 07 Dec 2019
Posts: 16
|
 Posted: Tue Jan 07, 2020 3:46 am Post subject: 105/3 Speaker Grill Wrap Posted: Tue Jan 07, 2020 3:46 am Post subject: 105/3 Speaker Grill Wrap |
 |
|
Ok, I've spent some time trying to figure out how KEF wrapped these grills without folding material into the corners. I've had to rebuild the MDF frames that had fallen apart from a pair of early vintage speakers. I've tried everything and cannot come up with something that resembles what they did. Did they preform on a fixture with heat? Did they continually stretch a large piece around the corners? Did they just stretch the crap out of it in a jig and glue? Does anyone have any input on how they may have done this or how it was done originally? I've restored two pairs of these in the last month and have another pair to do, the results have been jaw dropping. I fell in love with these speakers when I bought them in 96, and still haven't found anything I would want to spend $ on that would make me this happy!
Thanks,
Kevin |
|
| Back to top |
|
 |
speakerguru
Über Contributor 1000+

Joined: 18 Nov 2005
Posts: 1192
Location: Green Hut, Tovil
|
| Posted: Tue Jan 07, 2020 9:33 am Post subject: |
|
|
They were just stretched into place by very skillful workers who had a knack and did it quite often. Not what you want to hear, I suspect. Sorry.
p.s. are you using a suitable cloth with two way stretch? |
|
| Back to top |
|
|
kevd
Junior Contributor 10+
Joined: 07 Dec 2019
Posts: 16
|
| Posted: Thu Jan 09, 2020 6:45 am Post subject: |
|
|
I figured it out, yes just work around the corners, stretch, pull, stick and repeat! They came out like factory. I spent more time agonizing on how to keep the material even everywhere without bunching than I did wrapping once I got it. I used the premium fabric from Simply Speakers and ended up using their MI-3035 adhesive which I ended up liking very much. I gave it a couple of minutes to tack and then it grabbed great and has excellent shear strength. If I knew how to post pictures here I would. I actually used the large paper clips that clamp to simulate the glue while I practiced the technique. Once I had a process I layed the adhesive down on the two long sides first and brushed it in heavy without dripping, leaving about 3 inches on each end without and attached the fabric. I pulled it taught enough where it was about 75% of it's stretch. I then put adhesive on the top and pulled it in and tacked it down. I then did the bottom the same way. Really looks beautiful!
[img]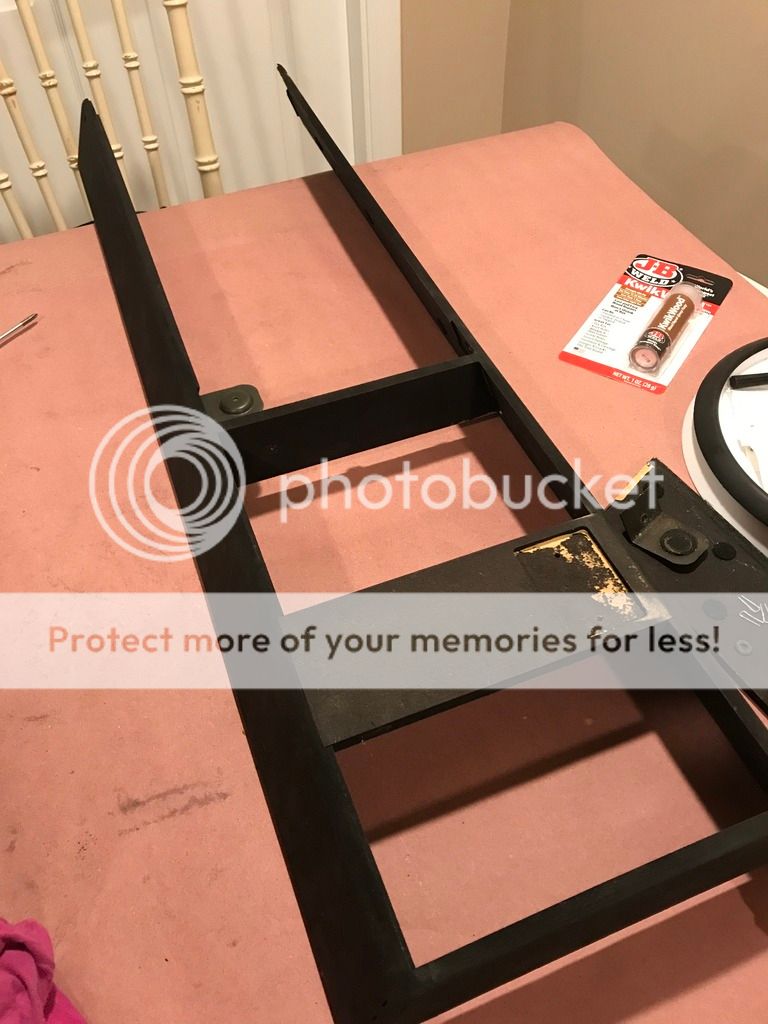 [/img] [/img]


 |
|
| Back to top |
|
|
speakerguru
Über Contributor 1000+
Joined: 18 Nov 2005
Posts: 1192
Location: Green Hut, Tovil
|
| Posted: Thu Jan 09, 2020 10:14 pm Post subject: |
|
|
| Great stuff. Well done. You're all set to do some old original Model 105s now!! |
|
| Back to top |
|
|
audiolabtower
VIP Contributor 500+
Joined: 06 Jan 2009
Posts: 686
|
| Posted: Fri Jan 10, 2020 3:26 pm Post subject: |
|
|
| Looks good. |
|
| Back to top |
|
|
kevd
Junior Contributor 10+
Joined: 07 Dec 2019
Posts: 16
|
| Posted: Fri Jan 10, 2020 3:44 pm Post subject: |
|
|
Thanks, couple more pics. I really love this speaker, I have another pair to restore, these came out beautiful and sound gorgeous!
These corners are the tricky part and it wasn't intuitive for me at first, no crease and continuous around the corner.

Love the Rosewood
 |
|
| Back to top |
|
|
RR105-3
Intermediate Contributor 25+
Joined: 13 Jul 2007
Posts: 29
|
| Posted: Thu Nov 26, 2020 2:18 pm Post subject: RR105 grills |
|
|
you're lucky, the first series of RR105-3 frames were made of wood, later versions were made of plastic I believe
_________________
history: 1978 RR104ab /1984 RR104-2 /1990 RR105-3
-------------------------------------------
in my posession at this moment -
RR105-3 / RR104ab / C95 / C75 / C60 / C10 / Chorale / Cresta 1970 / Corelli / |
|
| Back to top |
|
|
oldandintheway
Intermediate Contributor 25+
Joined: 16 Mar 2018
Posts: 32
|
| Posted: Wed Jan 20, 2021 2:41 pm Post subject: |
|
|
| You did a great job on those. I remember doing mine - complete pig of a job! |
|
| Back to top |
|
|
|


